



Greenwood winter home prep comes down to one idea: winter doesn’t create new problems on your house, it finds the ones already there and makes them costly.
A hairline crack in siding is nothing in October. A clogged gutter is an annoyance. A pinhole at a pipe boot doesn’t even show up as a stain yet. Then the temperature drops, water gets into all three, freezes, expands, and by March you’re looking at a wall cavity, a detached gutter run, and a ceiling repair.
Johnson County gives you a few weeks to get ahead of it. Here’s what actually matters.
Why Greenwood winter home prep can’t wait until December
Water expands roughly 9% when it freezes. That’s the entire mechanism behind most winter exterior damage, and Central Indiana runs that cycle dozens of times a season — thaw during the day, refreeze overnight, over and over.
Every freeze-thaw cycle takes whatever small opening already exists and makes it slightly bigger. A crack that’s hairline in November is a real gap by February, because it’s been wedged open fifty times.
That’s also why “it looks fine” is unreliable in the fall. The damage from last storm season — and Johnson County has had an active run of it, from quarter-size hail to 60+ mph straight-line winds through the 46142 and 46143 corridors — frequently doesn’t announce itself until winter forces the issue.
Start with the gutters, and actually finish the job
This is the single highest-return item on the list, and it’s the one most people half-do.
Running a leaf blower across the top isn’t cleaning a gutter. You need the debris out and the downspouts clear, because a blocked downspout turns the whole run into a trough.
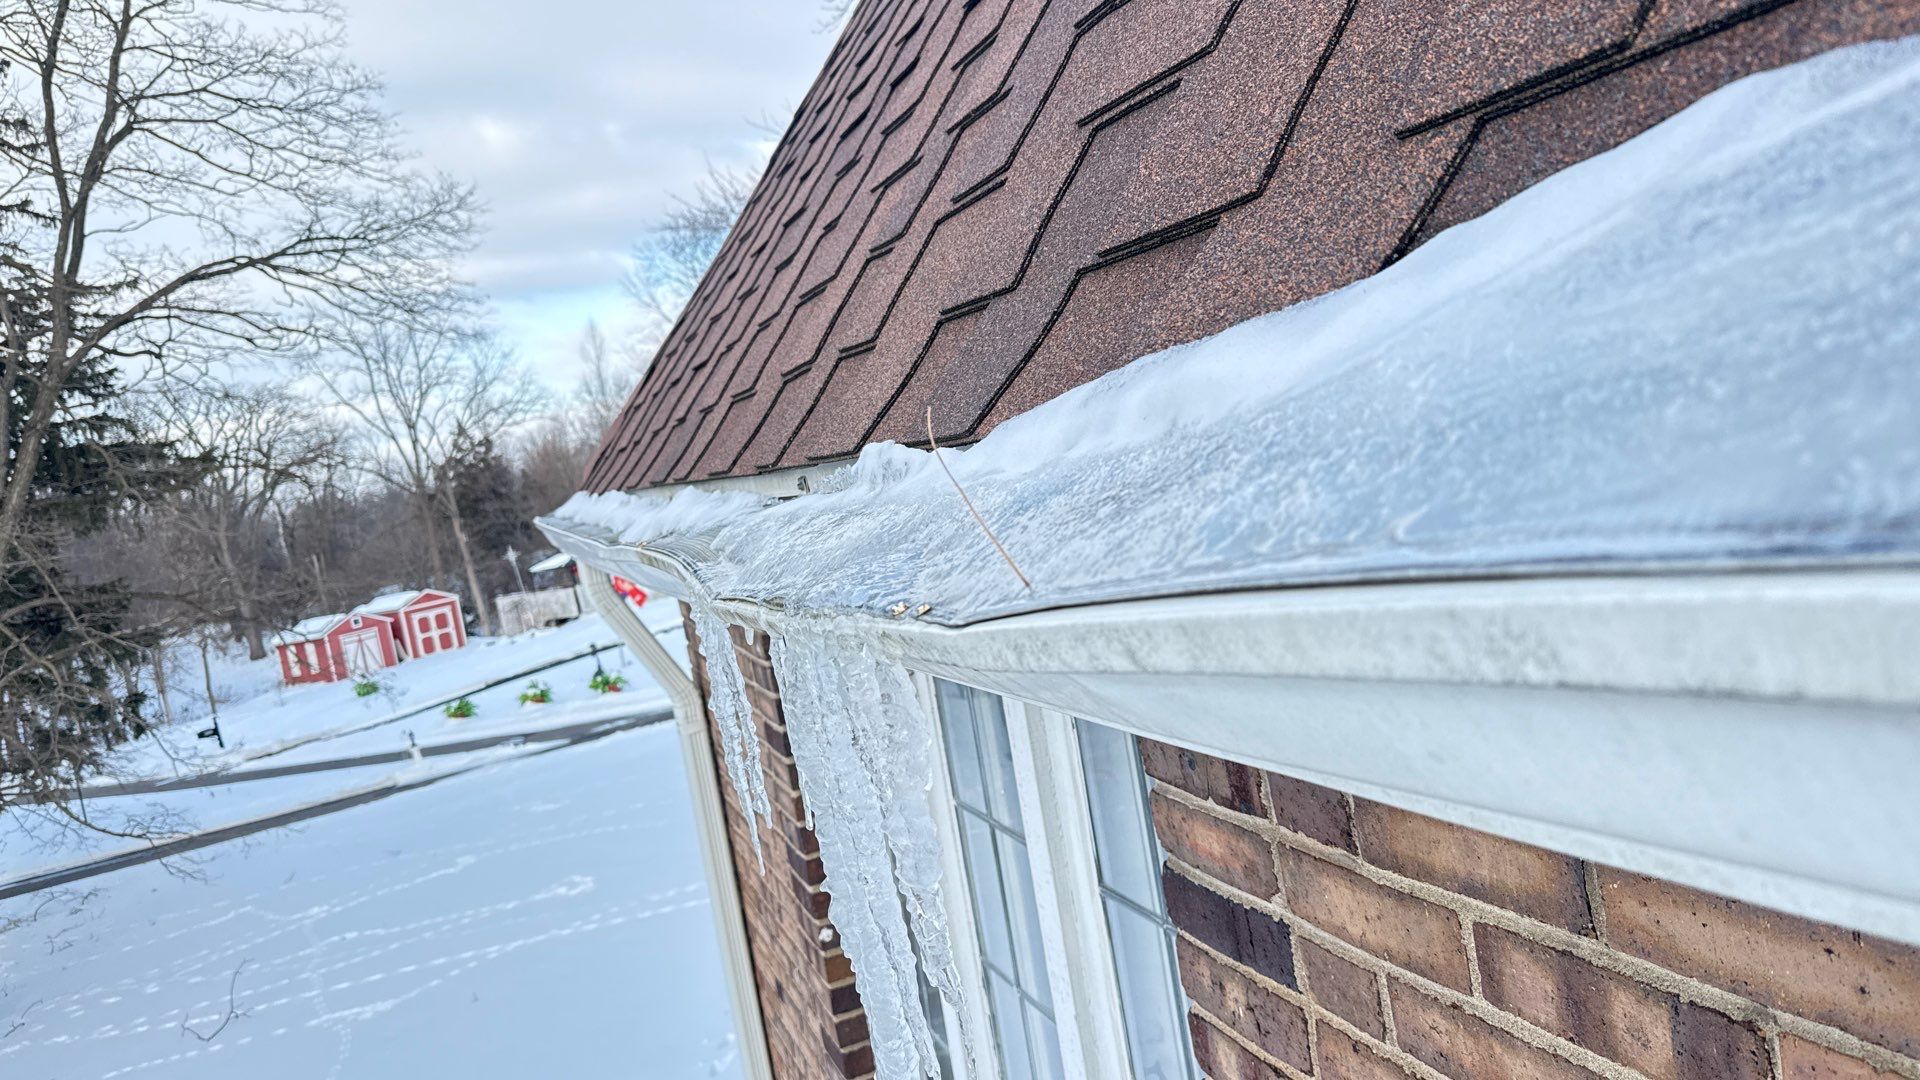
Here’s why it matters more than people think. Water that can’t drain sits in the gutter and freezes. Ice is heavy — a 20-foot run packed with ice can carry hundreds of pounds that the gutter was never designed to hold. The hangers let go, the gutter pulls away from the fascia, and now you’ve got a detached gutter, damaged fascia board, and an open edge where water runs directly down your siding all winter.
While you’re up there:
- Check that gutters are pitched correctly toward the downspouts. Standing water in a level gutter is a freeze waiting to happen.
- Look at the hangers. Hail and wind events loosen them without anyone noticing. A hanger that’s already stressed will fail first under ice load.
- Confirm downspouts discharge well away from the foundation — a few feet minimum. Water pooling at the foundation freezes, expands, and works on your foundation wall all winter.
- Note any dents or damaged sections. Dented gutters are often the clearest ground-level evidence of a past hail event, and worth documenting.
Find the small leaks now, before snow makes them big
A leak you can ignore in October is a leak you cannot ignore in January, for a specific reason: rain runs off and leaves. Snow sits.
Snow melts slowly against the roof surface, which means a small opening gets a sustained feed of water rather than a brief one — and if ice dams form, water is actively pushed backward under the shingles, which a roof is not designed to handle.
Where winter leaks actually originate, in rough order of frequency:
Pipe boots. The rubber collar around plumbing vents has a shorter service life than your shingles. If yours are cracked, split, or pulling away from the pipe, replace them now. Small repair in October, wet ceiling in February.
Flashing at chimneys, skylights, dormers, and roof-to-wall transitions.
Roof vents and exhaust penetrations.
Valleys where two roof planes meet, especially if debris is collecting there.
Ridge caps that have cracked or shifted.
Go up into the attic with a flashlight on a bright day. Daylight through the deck means a hole. Dark staining on the underside of the sheathing means water has been there. Damp or matted insulation means it still is. A musty smell means something’s been wet long enough to matter.
Check your siding for cracks, gaps, and loose panels
Siding is the part of the exterior people inspect least and that winter punishes efficiently.
Walk the perimeter slowly and look for:
- Cracks or splits, particularly around nail heads and at board ends
- Gaps at butt joints where panels meet — water goes in, freezes, widens the gap
- Loose or lifted panels, especially on the storm-facing elevation. Wind gets behind a loose panel and takes it.
- Failed caulk around windows, doors, dryer vents, outdoor outlets, and hose bibs. Sealant is a maintenance item, not a lifetime product.
- Soft, spongy, or chalky spots — a sign water has already been getting in
- Staining or streaking below windows or at the bottom course
- The lowest course near grade, where splash-back and snow pile-up do the most work
Anything open now is a path for water that will freeze inside your wall. Caulk and small repairs are cheap in October. Opening a wall is not.
Attic insulation and ventilation: the ice dam fix
Ice dams are the most expensive winter problem on this list, and the fix isn’t where most people look. It isn’t bigger gutters.
Ice dams form when heat escaping your living space warms the roof deck, melts snow from underneath, and sends meltwater down to the cold eave — where it refreezes and builds a dam. Water then pools behind it and forces its way under the shingles.
The fix is keeping the roof deck cold. Which means two things:
Insulation. ENERGY STAR recommends R60 for an uninsulated attic, and R49 for an attic that already has three to four inches, in the climate zones covering Indiana. In loose fill that’s roughly 14 to 20 inches deep.
Quick check: go look. If you can see the tops of your ceiling joists, you’re likely around R-30 or below. Plenty of older Greenwood homes sit at R-11 to R-19, which is an enormous amount of heat leaving through the roof all winter.
Also check that the insulation is even (gaps near the eaves matter most for ice dams), not compressed from storage or foot traffic, and not damp.
Air sealing. Insulation without air sealing is a sweater with the zipper open. Warm air moves bodily into the attic through recessed lights, the attic hatch, plumbing stack penetrations, chimney chases, and top plates. Look for dirty, darkened streaks in the insulation — insulation filters air, so dust collects where air is moving through. Those streaks map your leaks.
Ventilation. You need intake at the soffits and exhaust at the ridge, working together. Insulation stuffed into the eaves blocks soffit intake and makes things worse — baffles keep that air channel open while allowing full-depth insulation over the ceiling. Frost or condensation on the underside of your roof deck in cold weather means this system isn’t working, and it’s rotting your sheathing while you read this.
The rest of the Greenwood winter home prep checklist
- Trim branches overhanging the roof. Ice-loaded limbs break and fall. Overhanging branches also abrade shingles in ordinary wind and drop debris into valleys and gutters.
- Check soffit and fascia for rot, gaps, or soft spots. These are both your ventilation intake and a common pest entry point in cold weather.
- Disconnect and drain outdoor hoses, and shut off hose bib supply lines if your setup allows. A frozen hose bib can split a pipe inside the wall.
- Clear debris out of roof valleys. Trapped leaves hold moisture against the roof and seed ice buildup.
- Look at chimney flashing and the crown for cracks or separation.
- Seal gaps where utilities enter the house — cable, electrical, gas lines.
- Make sure attic vents aren’t blocked by insulation, debris, or nesting.
One thing to do before the first snow
Take photos of your roof and exterior while they’re in good condition, with the date on them.
If you have a storm claim later this winter, a documented “before” is one of the most useful things you can hand an adjuster — it establishes what the house looked like before whatever you’re claiming happened. Almost nobody does this, and the people who do have a much easier claims process. Questions about how your own policy handles winter damage are worth asking your agent now; the Indiana Department of Insurance handles consumer questions if you hit a wall.
Frequently asked questions
When should I finish Greenwood winter home prep? Before the first hard freeze, ideally. Caulk and sealants need temperatures above a certain threshold to cure properly, and you want leaks closed before snow starts sitting on the roof. Mid-to-late fall is the window.
My gutters already pulled away last winter. Is that normal? It’s common, but it’s not something to accept. It usually means the gutters were holding water that froze, which points back to clogs, poor pitch, or already-weakened hangers — all fixable.
Is it too late in the year to replace a roof in Greenwood? No. Roofs get replaced year-round in Indiana. Shingle sealing is temperature-dependent and experienced crews adjust technique for it. If your roof is failing, waiting until spring costs far more than installing in November.
How do I know if my attic insulation is actually inadequate? Measure it. If it’s below roughly 14 inches of loose fill, or you can see the tops of the ceiling joists, you’re under current recommendations. Frost on the underside of the roof deck is a separate warning sign that points at ventilation.
Do I really need a professional for this, or can I do it myself? Plenty of it is DIY — gutters, visible caulk, branch trimming, the attic flashlight check. What’s worth a professional eye is anything requiring you to be on the roof, and anything where you’re not sure whether what you’re looking at is damage. Ladder falls are the actual danger here, not the roof.
Free exterior inspection in Greenwood
Get ahead of winter while it’s still a maintenance conversation. Moss Roofing provides free, documented roof, siding, and gutter inspections across Greenwood, Bargersville, Whiteland, New Whiteland, Franklin, Center Grove, and Johnson County — with dated photos and a straight answer about what needs attention now versus what can wait.
Contact us to schedule your free Greenwood exterior inspection.


